In this blog post, we’ll delve into the intricacies of the Scaffold widget in Flutter, exploring its features and demonstrating various use cases through multiple examples.
The scaffold widget plays a pivotal role in creating layouts that adhere to Material Design principles.
It serves as a foundational component for building UIs, providing a structure that includes app bars, drawers, floating action buttons, and more.
Table of Contents

By understanding its functionalities and employing its features effectively, developers can create robust Flutter applications that adhere to Material Design guidelines.
Whether you’re adding app bars, drawers, or floating action buttons, the Scaffold widget provides the necessary structure and flexibility to bring your app designs to life.
Basic Scaffold Setup – Scaffold Widget in Flutter
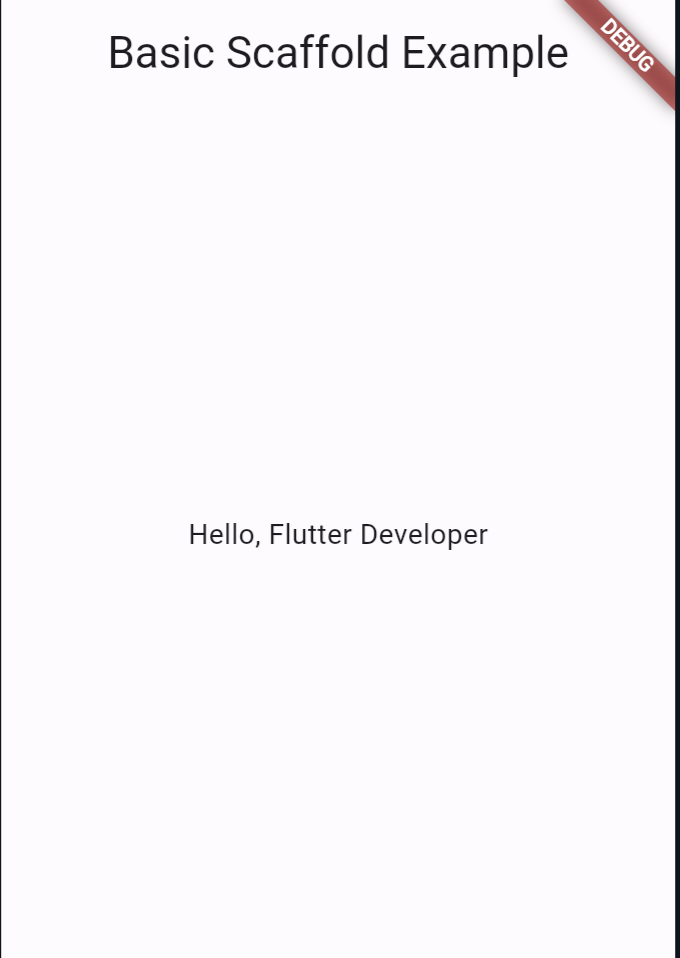
Let’s start with a simple example showcasing the basic structure of a Flutter app using the Scaffold widget:
import 'package:flutter/material.dart';

void main() => runApp(MyApp());

class MyApp extends StatelessWidget {
  @override
  Widget build(BuildContext context) {
    return MaterialApp(
      home: Scaffold(
        appBar: AppBar(
          title: Text('Basic Scaffold Example'),
        ),
        body: Center(
          child: Text('Hello, Flutter!'),
        ),
      ),
    );
  }
}
Output:

Adding Drawer to Scaffold -Scaffold Widget in Flutter
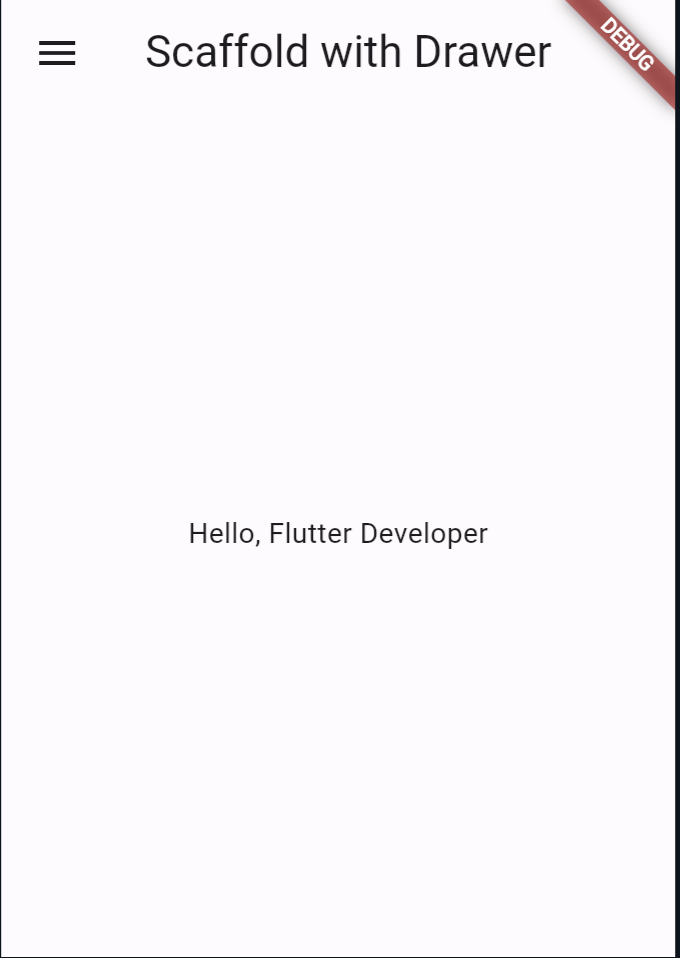
The Scaffold widget allows you to incorporate a navigation drawer effortlessly. Here’s how you can integrate a drawer into your Flutter app:
import 'package:flutter/material.dart';

void main() => runApp(MyApp());

class MyApp extends StatelessWidget {
  @override
  Widget build(BuildContext context) {
    return MaterialApp(
      home: Scaffold(
        appBar: AppBar(
          title: Text('Scaffold with Drawer'),
        ),
        drawer: Drawer(
          child: ListView(
            padding: EdgeInsets.zero,
            children: <Widget>[
              DrawerHeader(
                child: Text('Drawer Header'),
                decoration: BoxDecoration(
                  color: Colors.blue,
                ),
              ),
              ListTile(
                title: Text('Item 1'),
                onTap: () {
                  // Navigate to a different screen
                },
              ),
              ListTile(
                title: Text('Item 2'),
                onTap: () {
                  // Navigate to a different screen
                },
              ),
            ],
          ),
        ),
        body: Center(
          child: Text('Hello, Flutter Developer'),
        ),
      ),
    );
  }
}
Output:

Incorporating Floating Action Button (FAB)
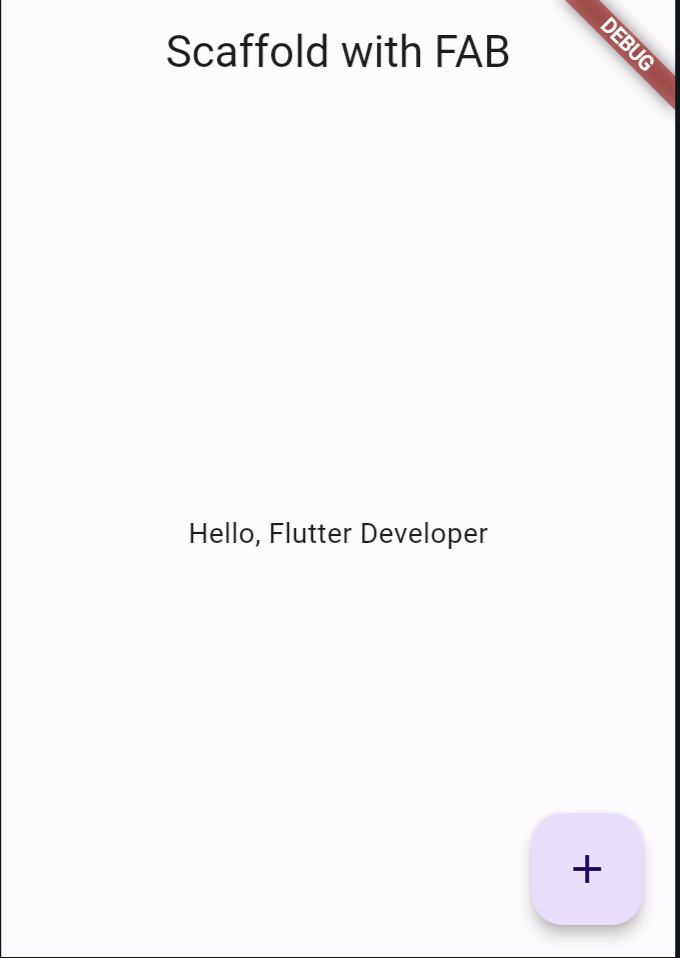
The Scaffold widget also facilitates the inclusion of a floating action button for primary actions. Here’s how you can add a FAB to your Flutter app:
import 'package:flutter/material.dart';

void main() => runApp(MyApp());

class MyApp extends StatelessWidget {
  @override
  Widget build(BuildContext context) {
    return MaterialApp(
      home: Scaffold(
        appBar: AppBar(
          title: Text('Scaffold with FAB'),
        ),
        floatingActionButton: FloatingActionButton(
          onPressed: () {
            // Add your action here
          },
          child: Icon(Icons.add),
        ),
        body: Center(
          child: Text('Hello, Flutter Developer'),
        ),
      ),
    );
  }
}
Output:

Also Read:
Conclusion
The Scaffold widget in Flutter serves as a cornerstone for building versatile and visually appealing UI layouts.
Experiment with the examples provided in this guide to harness the full potential of the Scaffold widget in your Flutter projects.
You can follow the official: details of font sizes in flutter to set it up.
