In this blog post, we’ll explore various methods to change the Appbar height in Flutter, along with multiple examples to demonstrate each approach.
The AppBar widget is a fundamental part of many Flutter applications, providing a consistent navigation and title bar at the top of the screen.
While its default height is suitable for most scenarios, there are times when you may need to customize its height to fit your app’s design requirements.
Table of Contents

1. Using PreferredSize Widget -Appbar height in Flutter
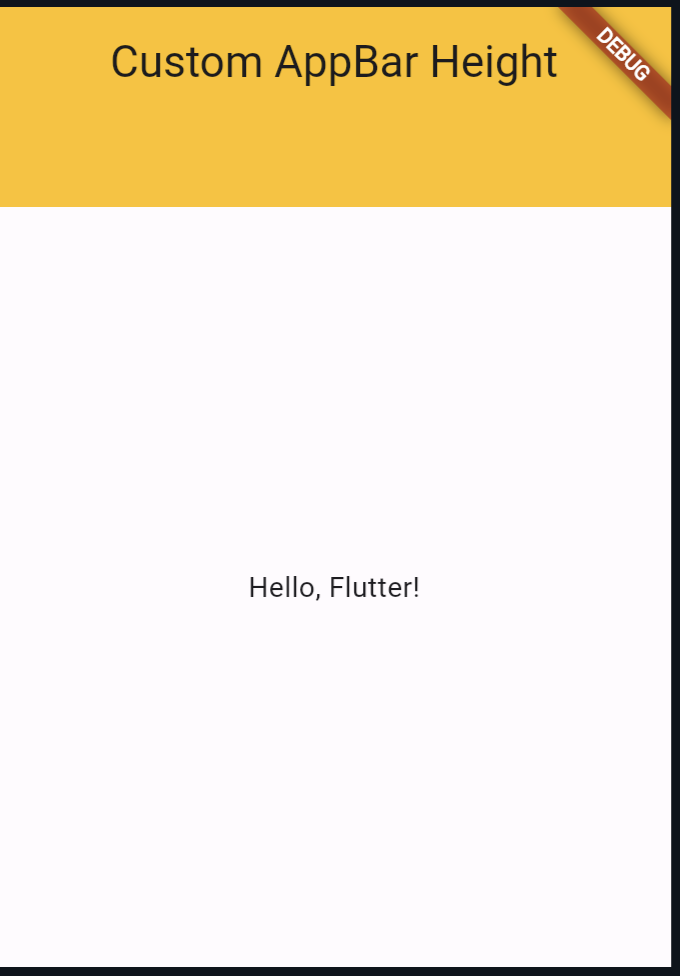
Flutter allows you to define a custom size for the AppBar using the PreferredSize widget. This widget enables you to specify the desired height for the AppBar explicitly. Here’s how you can use it:
import 'package:flutter/material.dart';

void main() => runApp(MyApp());

class MyApp extends StatelessWidget {
  @override
  Widget build(BuildContext context) {
    return MaterialApp(
      home: Scaffold(
        appBar: PreferredSize(
          preferredSize: Size.fromHeight(100.0),
          // Customize height here
          child: AppBar(
            backgroundColor: Colors.amber,
            title: Text('Custom AppBar Height'),
          ),
        ),
        body: Center(
          child: Text('Hello, Flutter!'),
        ),
      ),
    );
  }
}
Output:

2. Customizing AppBar with PreferredSizeWidget -Appbar height in Flutter
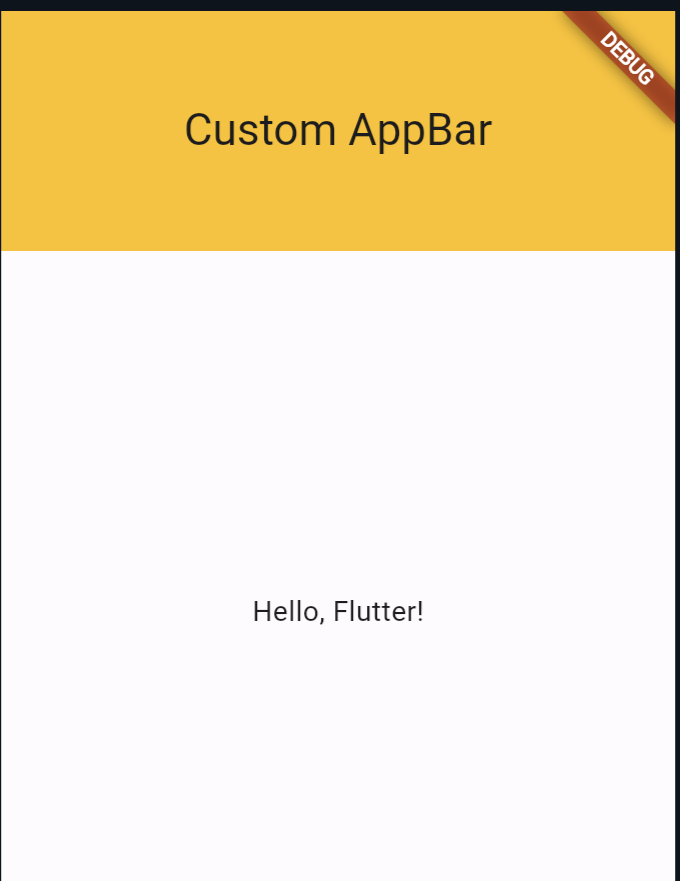
Another method to adjust the AppBar height involves creating a custom widget that extends the PreferredSizeWidget. This approach offers more flexibility as it allows you to define additional customizations alongside the height adjustment.
import 'package:flutter/material.dart';

class CustomAppBar extends StatelessWidget implements PreferredSizeWidget {
  final double height;

  const CustomAppBar({Key? key, required this.height}) : super(key: key);

  @override
  Widget build(BuildContext context) {
    return AppBar(
      title: Text('Custom AppBar'),
      backgroundColor: Colors.amber,

      toolbarHeight: height, // Customize height
    );
  }

  @override
  Size get preferredSize => Size.fromHeight(height);
}

void main() => runApp(MyApp());

class MyApp extends StatelessWidget {
  @override
  Widget build(BuildContext context) {
    return MaterialApp(
      home: Scaffold(
        appBar: CustomAppBar(
          height: 120.0, // Specify custom height
        ),
        body: Center(
          child: Text('Hello, Flutter!'),
        ),
      ),
    );
  }
}
Output:

3. Using PreferredSize with Custom Widget
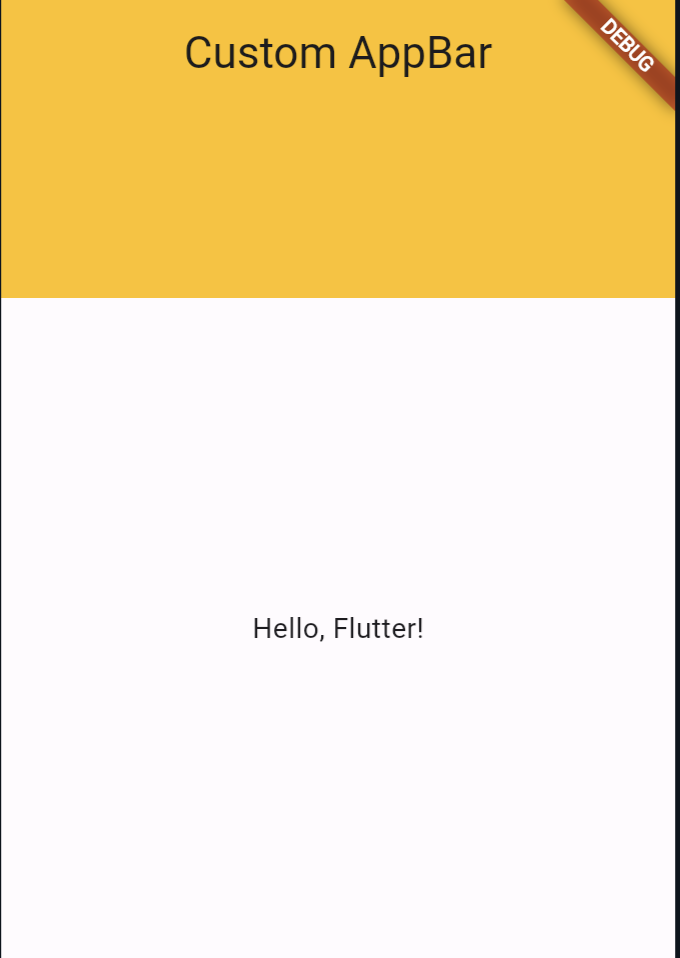
In this method, we create a custom widget that wraps around the AppBar and defines its preferred size. This approach is similar to the previous one but separates the customization logic into a standalone widget.
import 'package:flutter/material.dart';

class CustomAppBar extends StatelessWidget implements PreferredSizeWidget {
  final Widget child;
  final double height;

  const CustomAppBar({Key? key, required this.child, required this.height})
      : super(key: key);

  @override
  Widget build(BuildContext context) {
    return PreferredSize(
      preferredSize: Size.fromHeight(height),
      child: Container(
        height: height,
        child: child,
      ),
    );
  }

  @override
  Size get preferredSize => Size.fromHeight(height);
}

void main() => runApp(MyApp());

class MyApp extends StatelessWidget {
  @override
  Widget build(BuildContext context) {
    return MaterialApp(
      home: Scaffold(
        appBar: CustomAppBar(
          height: 150.0, // Specify custom height
          child: AppBar(
            title: Text('Custom AppBar'),
            backgroundColor: Colors.amber,
          ),
        ),
        body: Center(
          child: Text('Hello, Flutter!'),
        ),
      ),
    );
  }
}
Output:

Also Read:
Conclusion
Customizing the height of the AppBar in Flutter can be achieved through various methods, each offering different levels of flexibility and customization options.
You can follow the official: details of font sizes in flutter to explore more.
By leveraging widgets like PreferredSize and custom implementations, developers can tailor the AppBar to meet the specific design requirements of their applications. Experiment with these methods to find the most suitable approach for your Flutter projects.
