In this tutorial, we’ll explore different approaches that make it easier to integrate a Flutter numeric input keyboard into your Flutter application.
In any Flutter application where numerical data entry is essential, providing users with a smooth and intuitive input experience is paramount.
Utilizing a numeric input keyboard can greatly enhance user interaction and streamline the data entry process.
Table of Contents

In this blog post, we’ll explore two different methods of implementing numeric input in Flutter using code examples.
Flutter Numeric Input Keyboard with Input Formatters
The first method involves utilizing the TextField widget along with input formatters to restrict input to numeric values only. Here’s a breakdown of the implementation:
import 'package:flutter/material.dart';
import 'package:flutter/services.dart';

void main() => runApp(MyApp());

class MyApp extends StatelessWidget {
  @override
  Widget build(BuildContext context) {
    return MaterialApp(
      title: 'Numeric Input Example',
      theme: ThemeData(primarySwatch: Colors.blue),
      home: MyHomePage(),
    );
  }
}

class MyHomePage extends StatefulWidget {
  @override
  _MyHomePageState createState() => _MyHomePageState();
}

class _MyHomePageState extends State<MyHomePage> {
  TextEditingController _controller = TextEditingController();

  @override
  Widget build(BuildContext context) {
    return Scaffold(
      appBar: AppBar(title: Text('Numeric Input Example')),
      body: Padding(
        padding: EdgeInsets.all(20.0),
        child: TextField(
          controller: _controller,
          keyboardType: TextInputType.number,
          inputFormatters: <TextInputFormatter>[
            FilteringTextInputFormatter.digitsOnly
          ],
          decoration: InputDecoration(labelText: 'Enter a number'),
        ),
      ),
    );
  }
}
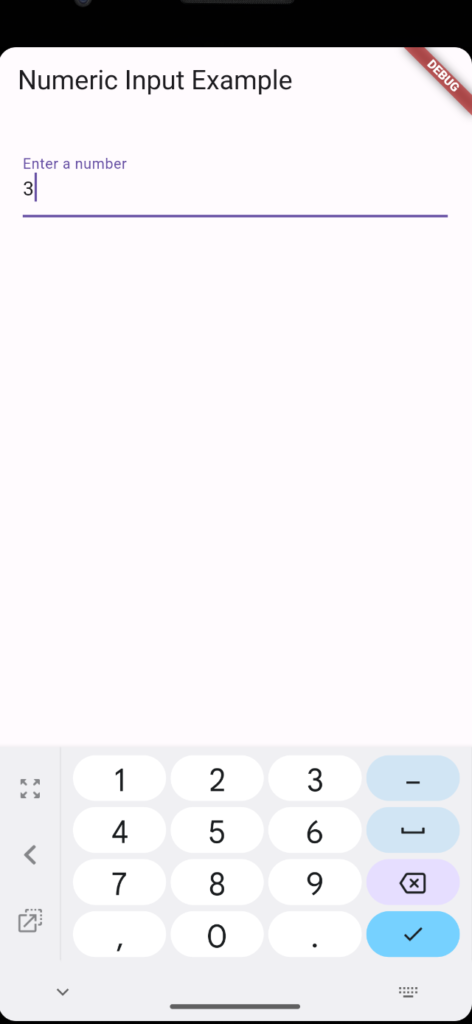
In this approach, we’re using the TextField widget and configuring it to accept only numeric input using TextInputType.number.
Additionally, we’ve provided a list of inputFormatters, specifying FilteringTextInputFormatter.digitsOnly to restrict input to digits.
Output:

Flutter Numeric Input Keyboard with TextFormField
Another method involves using the TextFormField widget, which provides built-in validation features along with a keyboard that suits the input type.
Here’s how you can implement numeric input using TextFormField:
import 'package:flutter/material.dart';

void main() => runApp(MyApp());

class MyApp extends StatelessWidget {
  @override
  Widget build(BuildContext context) {
    return MaterialApp(
      title: 'Numeric Input Example',
      theme: ThemeData(primarySwatch: Colors.blue),
      home: MyHomePage(),
    );
  }
}

class MyHomePage extends StatelessWidget {
  final TextEditingController _controller = TextEditingController();

  @override
  Widget build(BuildContext context) {
    return Scaffold(
      appBar: AppBar(title: Text('Numeric Input Example')),
      body: Padding(
        padding: EdgeInsets.all(20.0),
        child: TextFormField(
          controller: _controller,
          keyboardType: TextInputType.number,
          decoration: InputDecoration(labelText: 'Enter a number'),
        ),
      ),
    );
  }
}
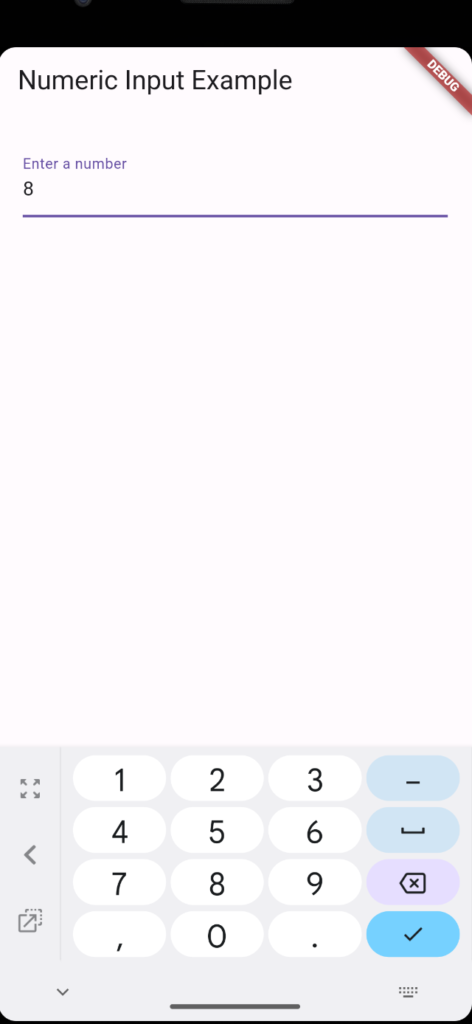
In this example, we’re using TextFormField instead of TextField. TextFormField integrates seamlessly with form validation and provides features like auto-validation and error messages out-of-the-box.
Output:

Benefits of Numeric Input Keyboards
Implementing a numeric input keyboard offers several benefits:
- Improved User Experience: Users can easily input numerical data without having to switch between keyboard layouts.
- Data Validation: By restricting input to numeric characters, you can enforce data validation and prevent invalid entries.
- Streamlined Data Entry: Numeric input keyboards streamline the data entry process, making it quicker and more efficient for users.
Related Reading:
Both methods discussed in this blog post offer effective ways to implement numeric input in Flutter applications. Whether you prefer the simplicity of TextField with input for matters or the enhanced features of TextFormField, integrating numeric input into your app is straightforward and customizable.
By providing users with intuitive and efficient input mechanisms, you can enhance the usability and user experience of your Flutter applications.
Choose the method that best fits your requirements and start improving your app’s data input functionality and application approach.
Conclusion
In this tutorial, we’ve explored how to integrate a numeric input keyboard into your Flutter application. Whether you choose to use existing packages or leverage built-in widgets and features, implementing a numeric input keyboard can greatly enhance the user experience and simplify data entry tasks
Furthermore, to get basic icons for the app, you can simply visit Google’s Material Symbols & Icons website.
